Introduction: Resin-bound paths are becoming increasingly popular for their durability, aesthetic appeal, and low maintenance. If you’re considering installing a resin-bound path but aren’t sure where to start, this guide will provide you with everything you need to know.
What is a Resin Bound Path?
A resin-bound path consists of natural aggregates such as gravel, granite, or quartz bound together with a clear UV-stable resin. This creates a smooth, permeable surface that is both decorative and functional. Unlike resin-bonded surfaces, resin-bound paths have a uniform appearance with no loose stones.
Benefits of Resin Bound Paths
- Durability: Resin-bound paths are highly durable and can withstand heavy foot traffic without cracking or breaking. They are also resistant to weeds and frost damage, making them ideal for British weather conditions.
- Low Maintenance: Once installed, resin-bound paths require minimal maintenance. Regular sweeping and occasional power washing are sufficient to keep the surface in good condition.
- Permeability: Resin-bound paths’ porous nature allows water to drain through the surface, reducing puddles and preventing surface water runoff. This makes them compliant with Sustainable Drainage Systems (SuDS) regulations.
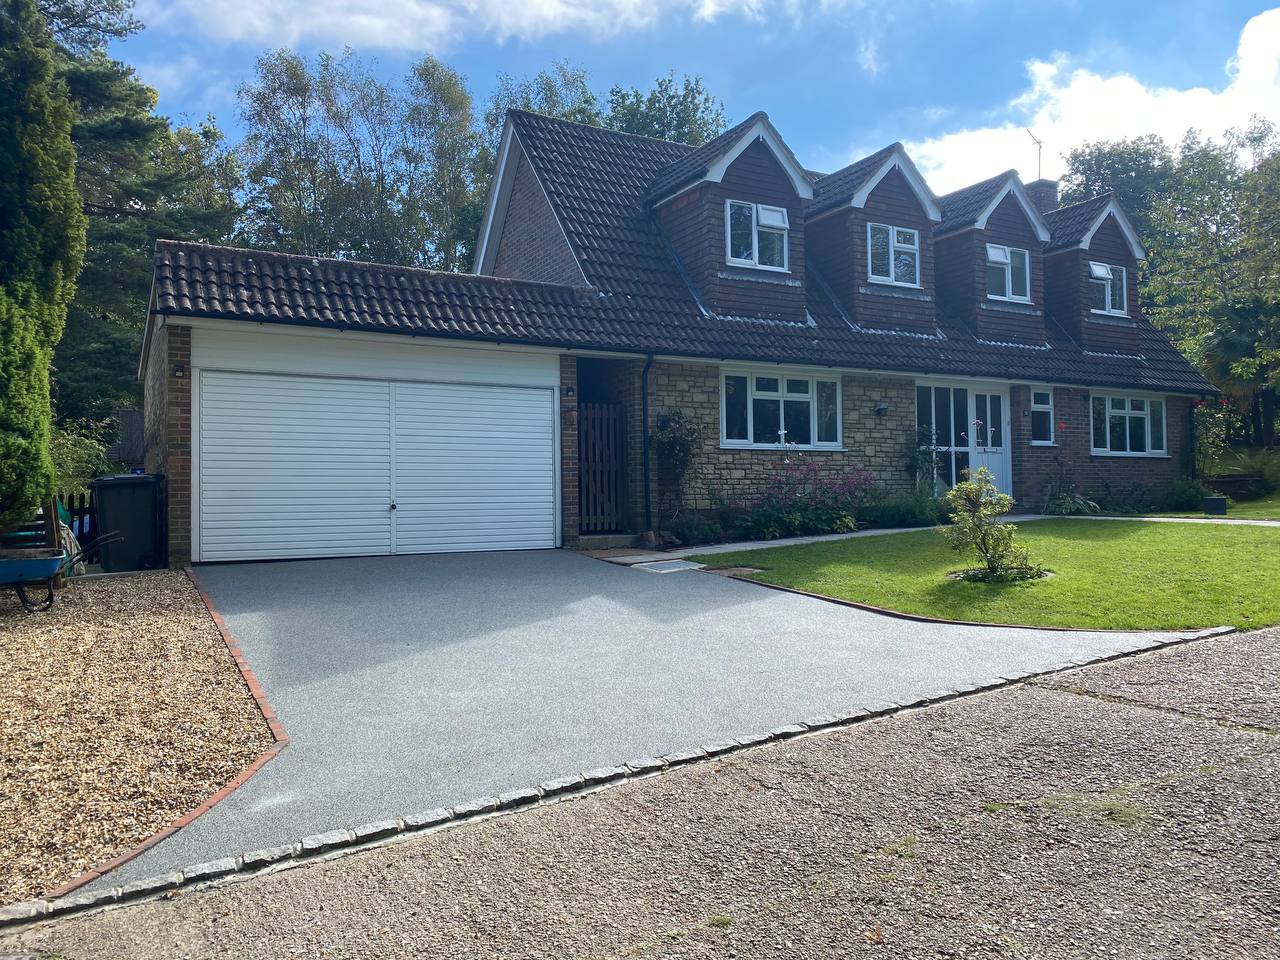
- Aesthetic Appeal: With a wide range of aggregate colours and textures, resin-bound paths can be customised to complement any landscape design. They provide a decorative finish that enhances the appearance of gardens, driveways, and public spaces.
Installation Process
Installing a resin-bound path involves several key steps:
- Surface Preparation: The existing surface must be clean, dry, and free from cracks or imperfections. At this stage, any repairs or adjustments to levels should be made.
- Mixing: The resin and chosen aggregates are mixed thoroughly using specialist equipment to ensure an even distribution. This mixture is then laid onto the prepared surface at a specified depth.
- Trowelling: A trowel smooths and levels the resin-bound mixture, ensuring a flat and uniform finish. Precision is crucial to achieving the desired appearance and durability.
- Curing: The path is left to cure for several hours when the resin hardens and bonds the aggregates together. Once fully cured, the path is ready for use.
Maintenance Tips
- Regular Cleaning: Sweep the path regularly to remove debris and leaves. Use a stiff brush and mild detergent for more thorough cleaning when necessary.
- Avoid Sharp Objects: Although resin-bound paths are durable, avoid dragging sharp objects or heavy furniture across the surface to prevent damage.
- Resealing: Resin-bound paths may benefit from resealing over time to maintain their appearance and longevity. Consult with a professional installer for advice on resealing intervals.
Conclusion: Resin-bound paths offer a versatile and durable surfacing solution suitable for a variety of applications. Whether enhancing a residential garden or public walkway, understanding the basics of resin-bound paths empowers you to make informed decisions about installation and maintenance.
Call us on: 01227 538086
Click here to find out more about Canterbury Resin Driveways
Click here to complete our contact form and see how we can help you with your driveway needs.